Well if youre a movie buff of any bearing you would be aware of the looming release of The X Files - I want to believe. Lets create nice wallpaper.
Create for the beginning a new file (
File>New) of
1600×1200 px and
72 dpi. Paint it with black color, applying the
Paint Bucket Tool (G).

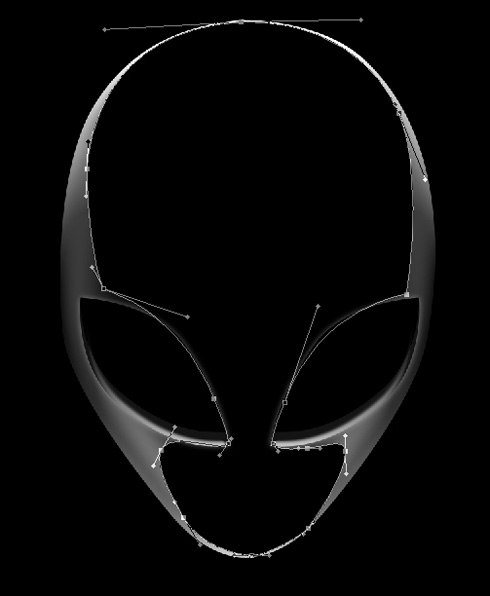
Start representing the face of an alien. Firstly we need to represent the faces contour. Choose the
Pen Tool (P) and draw the contours element as in the picture below.

After that, select on the made layer
Blending Options>Inner Glow, by making a mouse click on this layer on the layers palette. Start setting each option like it is shown below:
 Blending Options>Bevel and Emboss
 Blending Options>Bevel and Emboss>Contour
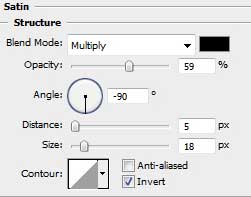
 Blending Options>Satin
 Blending Options>Gradient Overlay

On the next table there may be seen the colors codes of the
Gradient Editor.

We need to obtain the face from below:

Using the same
Pen Tool (P), try to make the eyes for the alien. In this case its enough to make just one eye which may be copied later (
Ctrl+J). The eye may be also turned, applying the
Free Transform selection (
Ctrl+T)

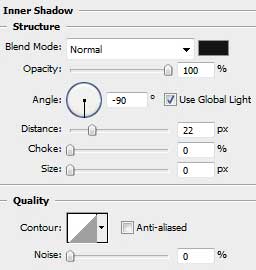
Give the same
Blending Options - Inner Shadow parameters for both layers
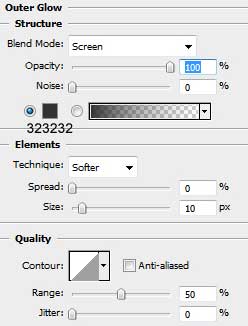
 Blending Options - Outer Glow
 Blending Options - Bevel and Emboss

The eyes, as you may see, are finished!

Pass to representing the shadow and the highlight on the aliens face.
Set all the parameters from below for the layer containing the shadow and the highlight.
Blending Options - Inner Glow:  Blending Options - Gradient Overlay
 Gradient Editor:
On this stage we must get the next picture:

Create a
New layer and put it together with the layer containing the shadow and the highlight, applying
Ctrl+E. Marking them preliminary, put together the layers on the layers palette. Next select the
Burn Tool (O) and blur out the edges on those places, marked with red color

We must get the next result. Create a
New layer after that and choose the
Brush Tool (B) to insert a spot of white color. After that, choose the
Smudge Tool (R) to blur out the spot on its diagonal direction. Finally make the necessary corrections on the picture with the
Eraser Tool (E) 
Try to make next an ellipse with the
Ellipse Tool (U) and situate it under the faces layers.

Set the next demonstrated parameters for the layer:
Blending Options - Bevel and Emboss.
 Blending Options - Bevel and Emboss - Contour
Insert also a total transparency (
Fill 0% for the layer)

Make one more circle, applying the same operation described above.

This is the result we must get on this stage:

Now we have to introduce the necessary text (I used the
X-Files font from
dafont. ), using the
Horizontal Type Tool (T).

Set the texts demands as the next table indicates it.

The parameters for the lowest line:

After that, make a small circle, as for the
X letter to be located in it.

Set then the next demonstrated parameters and
Fill 0% for the layer.
Blending Options - Stroke: 
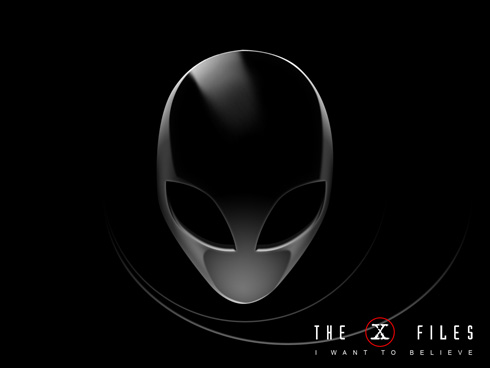
The X Files wallpaper came to end.