In this tutorial we will learn how to create some cool effects, really easy and simple to do it. We will create an Magic Crystal Ball on the hands.
Lets create a new file (
File>New) of
1280×1024 px and
72 dpi, applying there the
Paint Bucket Tool (G) to give it black color.

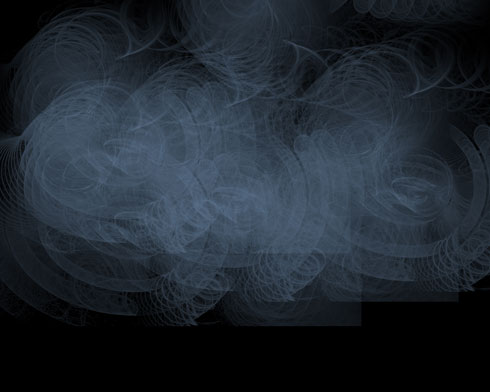
Next well download a set of
brushes for Adobe Photoshop, named: Brushset_VI_by_mystcART and Vector_Flower_Brushes_by_Yasny_chan.
Create a new layer and use here the brushes that we have to represent an ornament. The color chosen in this case is
#89C5DF 

Click several times more to repeat the same ornament:
Select then the
Brush Tool (B) (
Opacity 50%) to dark out the pictures borders, applying black color.

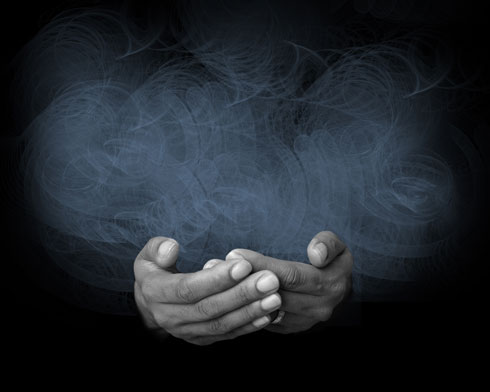
Find in Internet a picture having represented on it the human hands. For this tutorial, I used this
picture from
SXC. I would like to thank the
author of this picture.

Cut them out and insert the element on our picture:

Make a mouse click on the bottom part of the layers panel on the selection
Create new fill or adjustment layer>Hue/Saturation


Press
Alt button and make a mouse click between the effects layers
Hue/Saturation and the hands layer (on the layers panel).

 Create a new layer
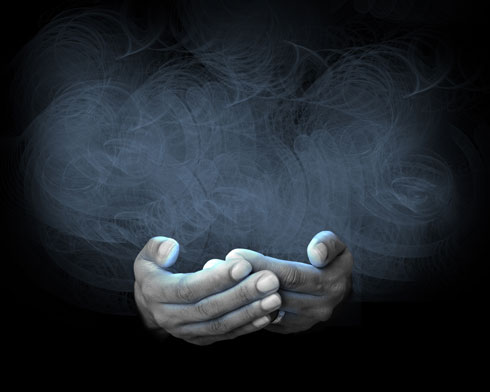
 and use there a standard brush with the
Opacity of
20% to represent a kind of luminescence. Apply the brush above the fingers and between them. The brushs color is
#37698C 

The layers parameters:
Blending mode-Color Dodge 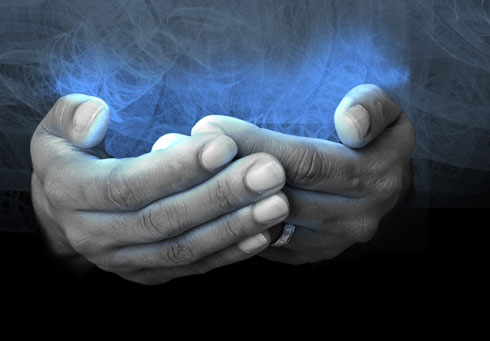
Press
Alt button while clicking between the luminescence layers and the previous layer on the layers panel:

Next well choose the
Ellipse Tool (U) to represent a circle which must be placed under the hands layer:
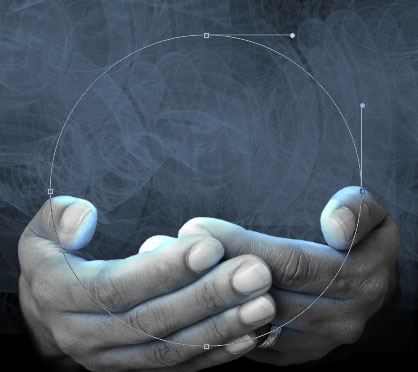
Set the next shown parameters by making a mouse click on the layer we work with, on the layers panel:
Fill 0%, Blending Options>Outer Glow
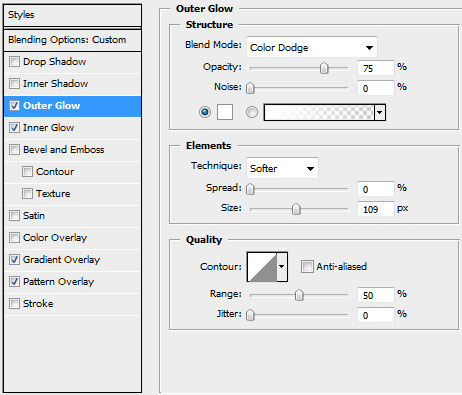 Blending Options>Inner Glow
 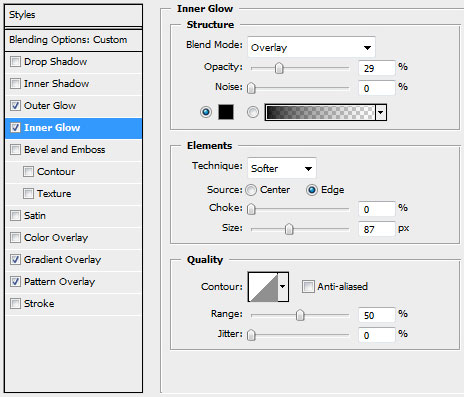 Blending Options>Gradient Overlay
  Gradients parameters:
  Blending Options>Pattern Overlay
 (select the pattern out of the set, entitled
Texture Fill 2)


Create again a new layer (
Create new layer) where well use the brushes out of the downloaded set Vector_Flower_Brushes_by_Yasny_chan and the color
#476974. This new layer should be situated lower than the layer containing the circle and the hands (on the layers panel).


The layers parameters:
Blending mode-Multiply  Create a new layer
 and use there the
Rectangular Marquee Tool (M) to represent a cross element of white color. Firstly well represent a line and then press
SHIFT button while creating the second one with the same instrument. The marked zone will be filled with white color, applying the
Paint Bucket Tool (G) for this operation. This layer needs to be placed lower than the hands layer, but above the balls layer:
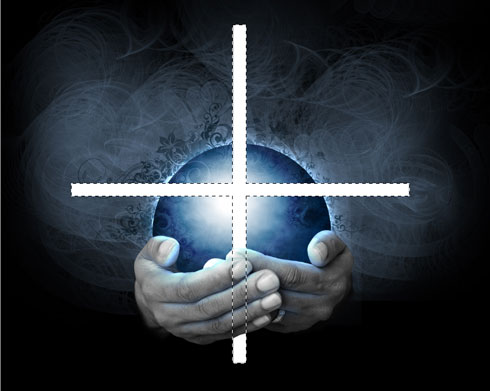
Select for the layer containing the white cross the option
Filter>Distort>Twirl 
and
Filter>Blur>Motion Blur 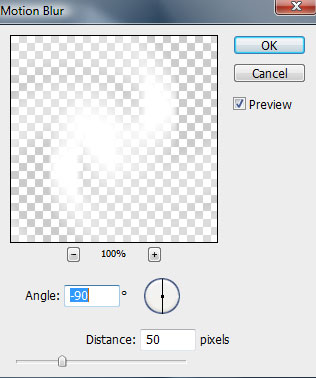

Make a mouse click on the same layer on the bottom part of the layers panel on
Add a Mask selection and select there the
Brush Tool (B) of black color to erase the balls coming out parts of the ornament.

Select the next indicated parameters for the same layer:
Blending mode-Overlay
Blending Options>Color Overlay


Make a copy of the recently made layer and select the
Free Transform option to displace a little the copy to the right side and turn it around by its axe. Select different parameters this time, those demonstrated below:
Blending Options>Color Overlay


Next well try to represent several highlights on the ball, using this time the
Ellipse Tool (U). This layer will be situated above the previous layers, but lower than the layer containing the human hands:

The layers parameters:
Fill 0%, Blending Options>Gradient Overlay  Gradients parameters:
 Create a new layer
 and select the
Elliptical Marquee Tool (M) to mark out that part of the circle which will be processed with the
Paint Bucket Tool (G) and the color
#89C5DF 
Choose for this layer the selection from here:
Filter>Blur>Motion Blur 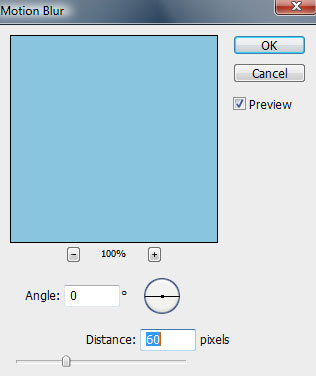

Make a mouse click on the same layer on the lowest part of the layers panel on
Add a Mask selection and then choose the
Brush Tool (B) of black color to erase several zones, belonging to the hands and the ball.
The layers parameters:
Blending mode-Screen 
On the last stage well represent a new layer (
Create new layer) to apply there the standard brush of black color, with the
Opacity of
20% to dark out the hands on their left and right sides.


Finished!